Adding new Services
After seeing how to integrate a downloaded template service into the i3Hub platform, let's see what are the steps to create and integrate a custom service from scratch.
Terminology
We will refer to services that connect to I3HUB and developed by third-party developers as "custom services"
You can use the button below to reach the sections you are interested in
REST Endpoints Service Configuration Meta Platform Payload
Get a proxy (optional)
Getting a local proxy allows you to have custom https domain that redirects to a local application of yours. This can be used to obtain the https domain previously discussed (https://micro.localhost)
The fastest and dynamic way to do this is to download a software to use as a reverse proxy. The advice is to use Caddy2.
About Caddy
The software itself it's simple to use, but can be challenging for users not really akin to the command line. Like NGINX and other reverse proxies out there, Caddy runs from command line, so follow this instructions to install it correctly.
Through a simple configuration file called Caddyfile it is possible to set all the rules we need. Here is an example that can be used as-is:
# Caddyfile

micro.localhost {
    reverse_proxy /* localhost:3010
}
At this point it is necessary to start Caddy with this configuration file. To do this, simply run from command line:
caddy run Caddyfile
Same directory
The command above needs to be run from the terminal in the same directory as your Caddyfile
In this way we will obtain a locally valid SSL certificate for our browser, and our application will be reachable at the address https://micro.localhost.
Please, keep in mind that if you change the url of the application, you must let the i3hub know about that. To do so, you need to change the REST API for service, returning the correct url.
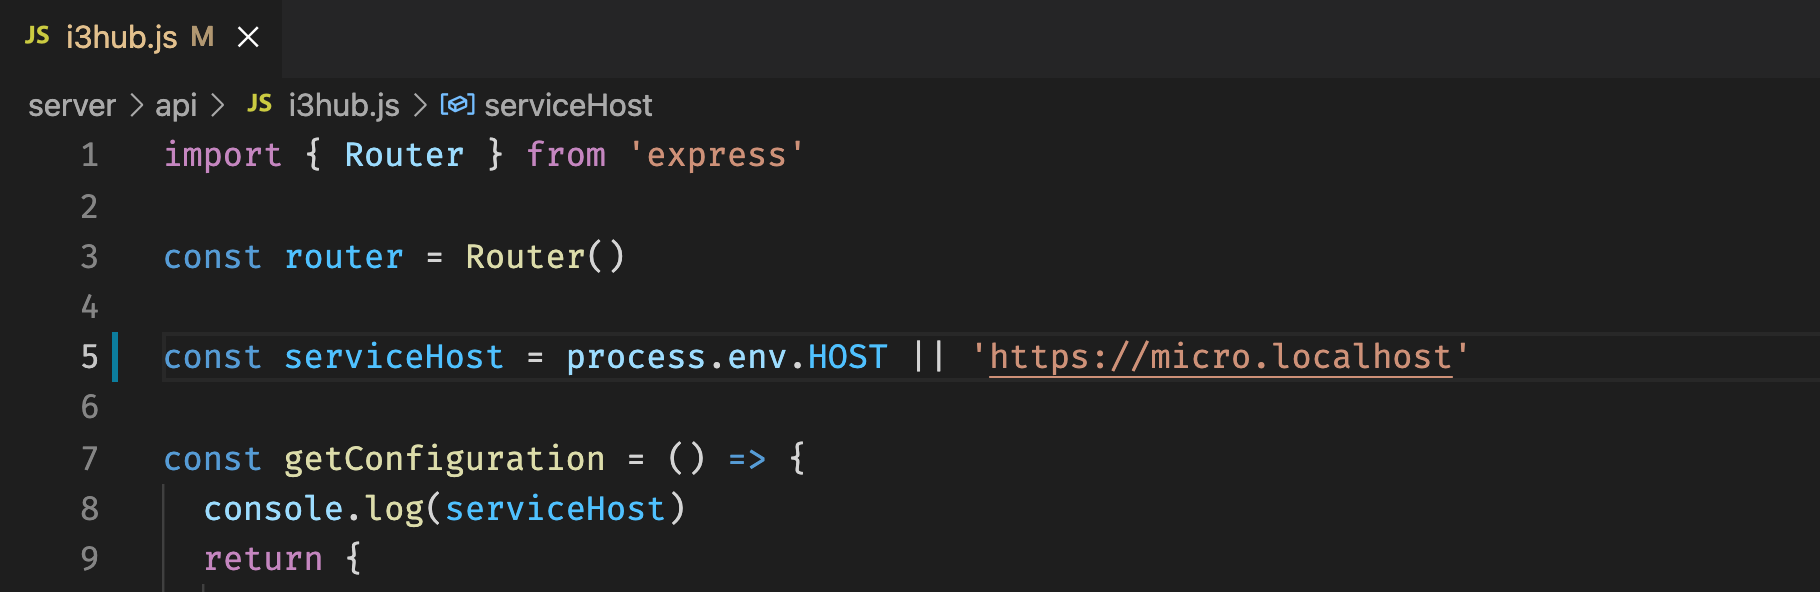
Quickstart Example
In case you are following the quickstart example, here you have the actual change you have to perform on the code (on line 5)